
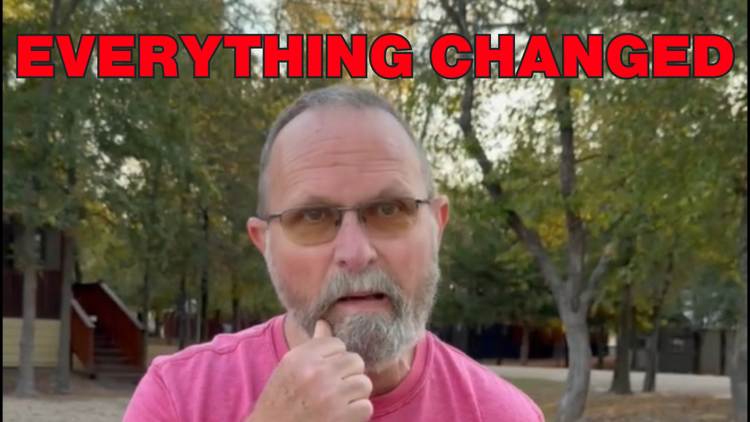
What We Found During Our Tiny House 30-Day Inspection | Week 38 Post-layoff
This post contains affiliate links. If you make a purchase through these links, we may earn a small commission at no additional cost to you. We only recommend products we've used or thoroughly researched.
Torn window screens. Cracked grout. Holes in the trim. A leaking shower head. Rough unfinished wood. I'm talking about our brand new tiny house - and we had exactly 30 days to document every single problem, or we'd be paying out of pocket to fix them ourselves.
Watch the Full Inspection Walkthrough
Before we dive into the details, you can watch our complete inspection process here:
Prefer to read? Keep going for the full breakdown of what we found, how we documented it, and what you need to know if you're buying a tiny house.
The 30-Day Reality
When you take delivery of a park model or tiny house, the clock starts ticking immediately. Most manufacturers give you 30 days to inspect every inch of your new home and document any issues. Miss that deadline, and repairs come out of your pocket.
We thought 30 days sounded like plenty of time. After all, how long could it take to walk through 399 square feet?
Turns out, when you're simultaneously unpacking, organizing, setting up utilities, and trying to make your new house livable, that 30-day window flies by! We didn't start our detailed inspection until almost two weeks in - learn from our mistake.
Why Transportation Matters
Here's what most people don't think about: your tiny house travels to you. Ours only went 82 miles, but that's enough distance on highways for real damage to occur.
Our park model is built like a traditional house - wood studs, sheetrock walls, real tile and grout. But it sits on an RV chassis with wheels, which means it spent time bouncing down the road on its journey to our community.
That creates a unique inspection checklist you wouldn't have with traditional home construction.
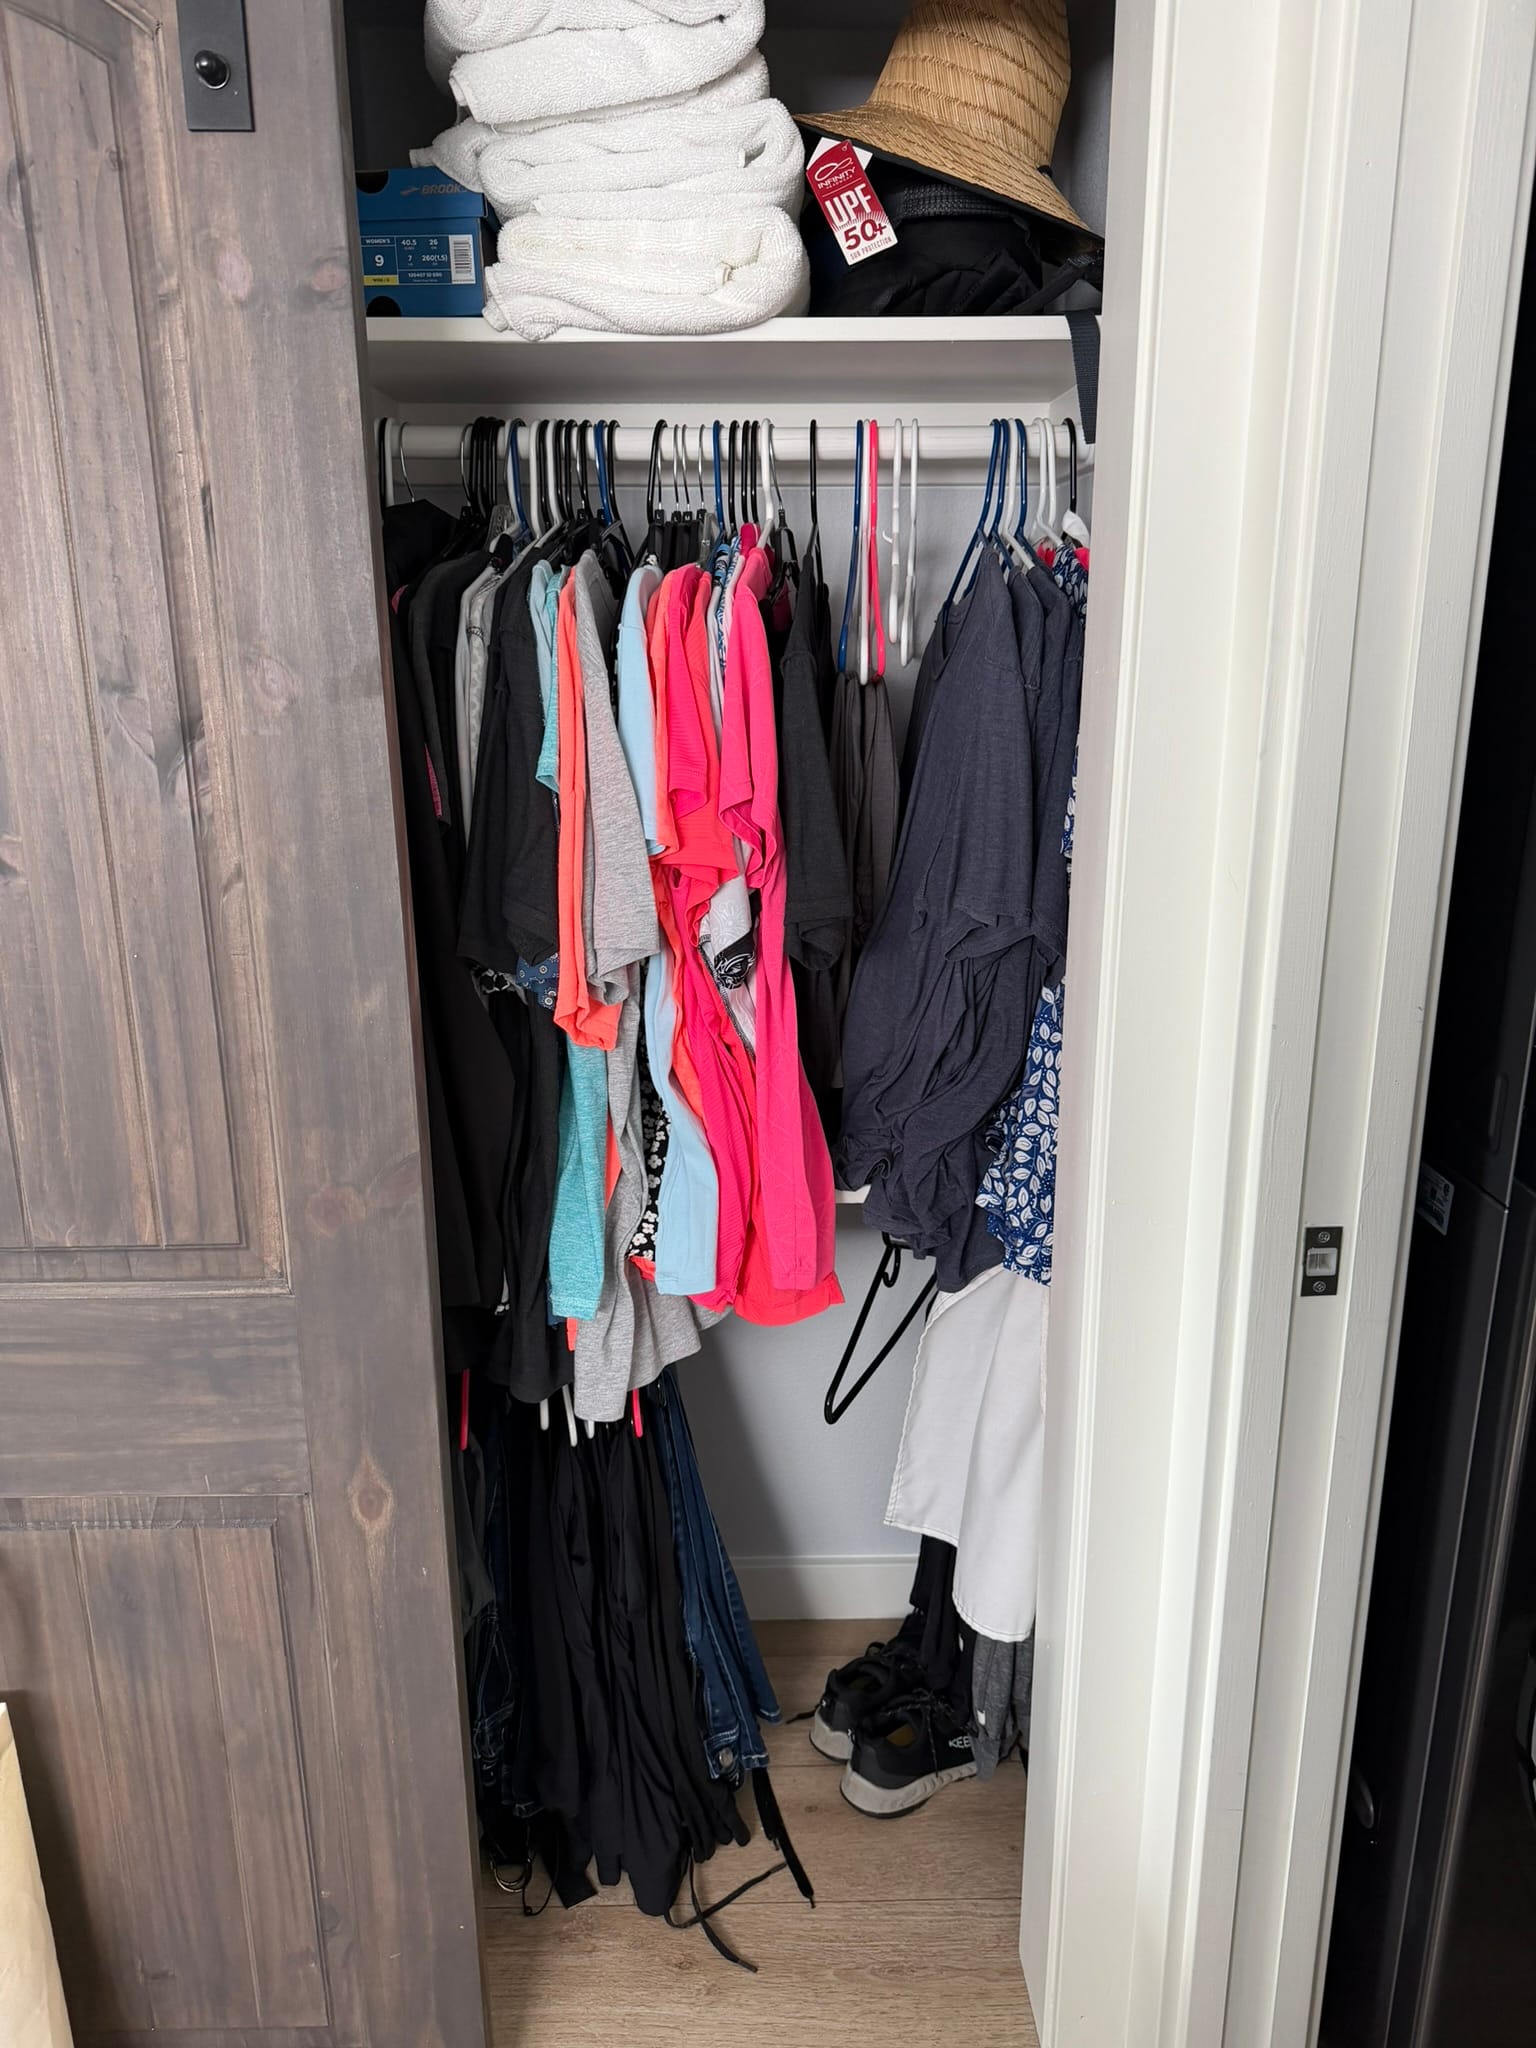
What We Found: Transportation Damage
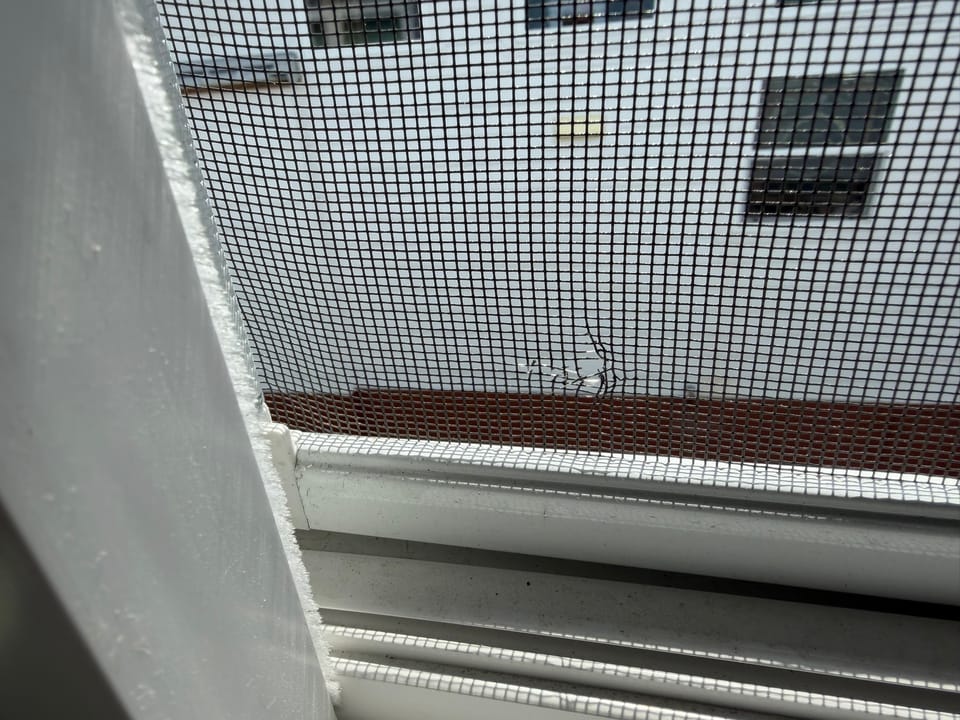
Torn Window Screens
We found two window screens completely torn. Looking at the damage pattern, you can see exactly what happened - tree branches brushed against it, catching and ripping the screens. Looking back at our delivery day videos, we think it made it the 82 mile journey only to get snagged in the trees as they were placing the house on our lot. Brand new house, damaged before we ever moved in.
Our neighbor mentioned he experienced the same issue. Apparently, screen damage is common enough that he warned us to check ours carefully.
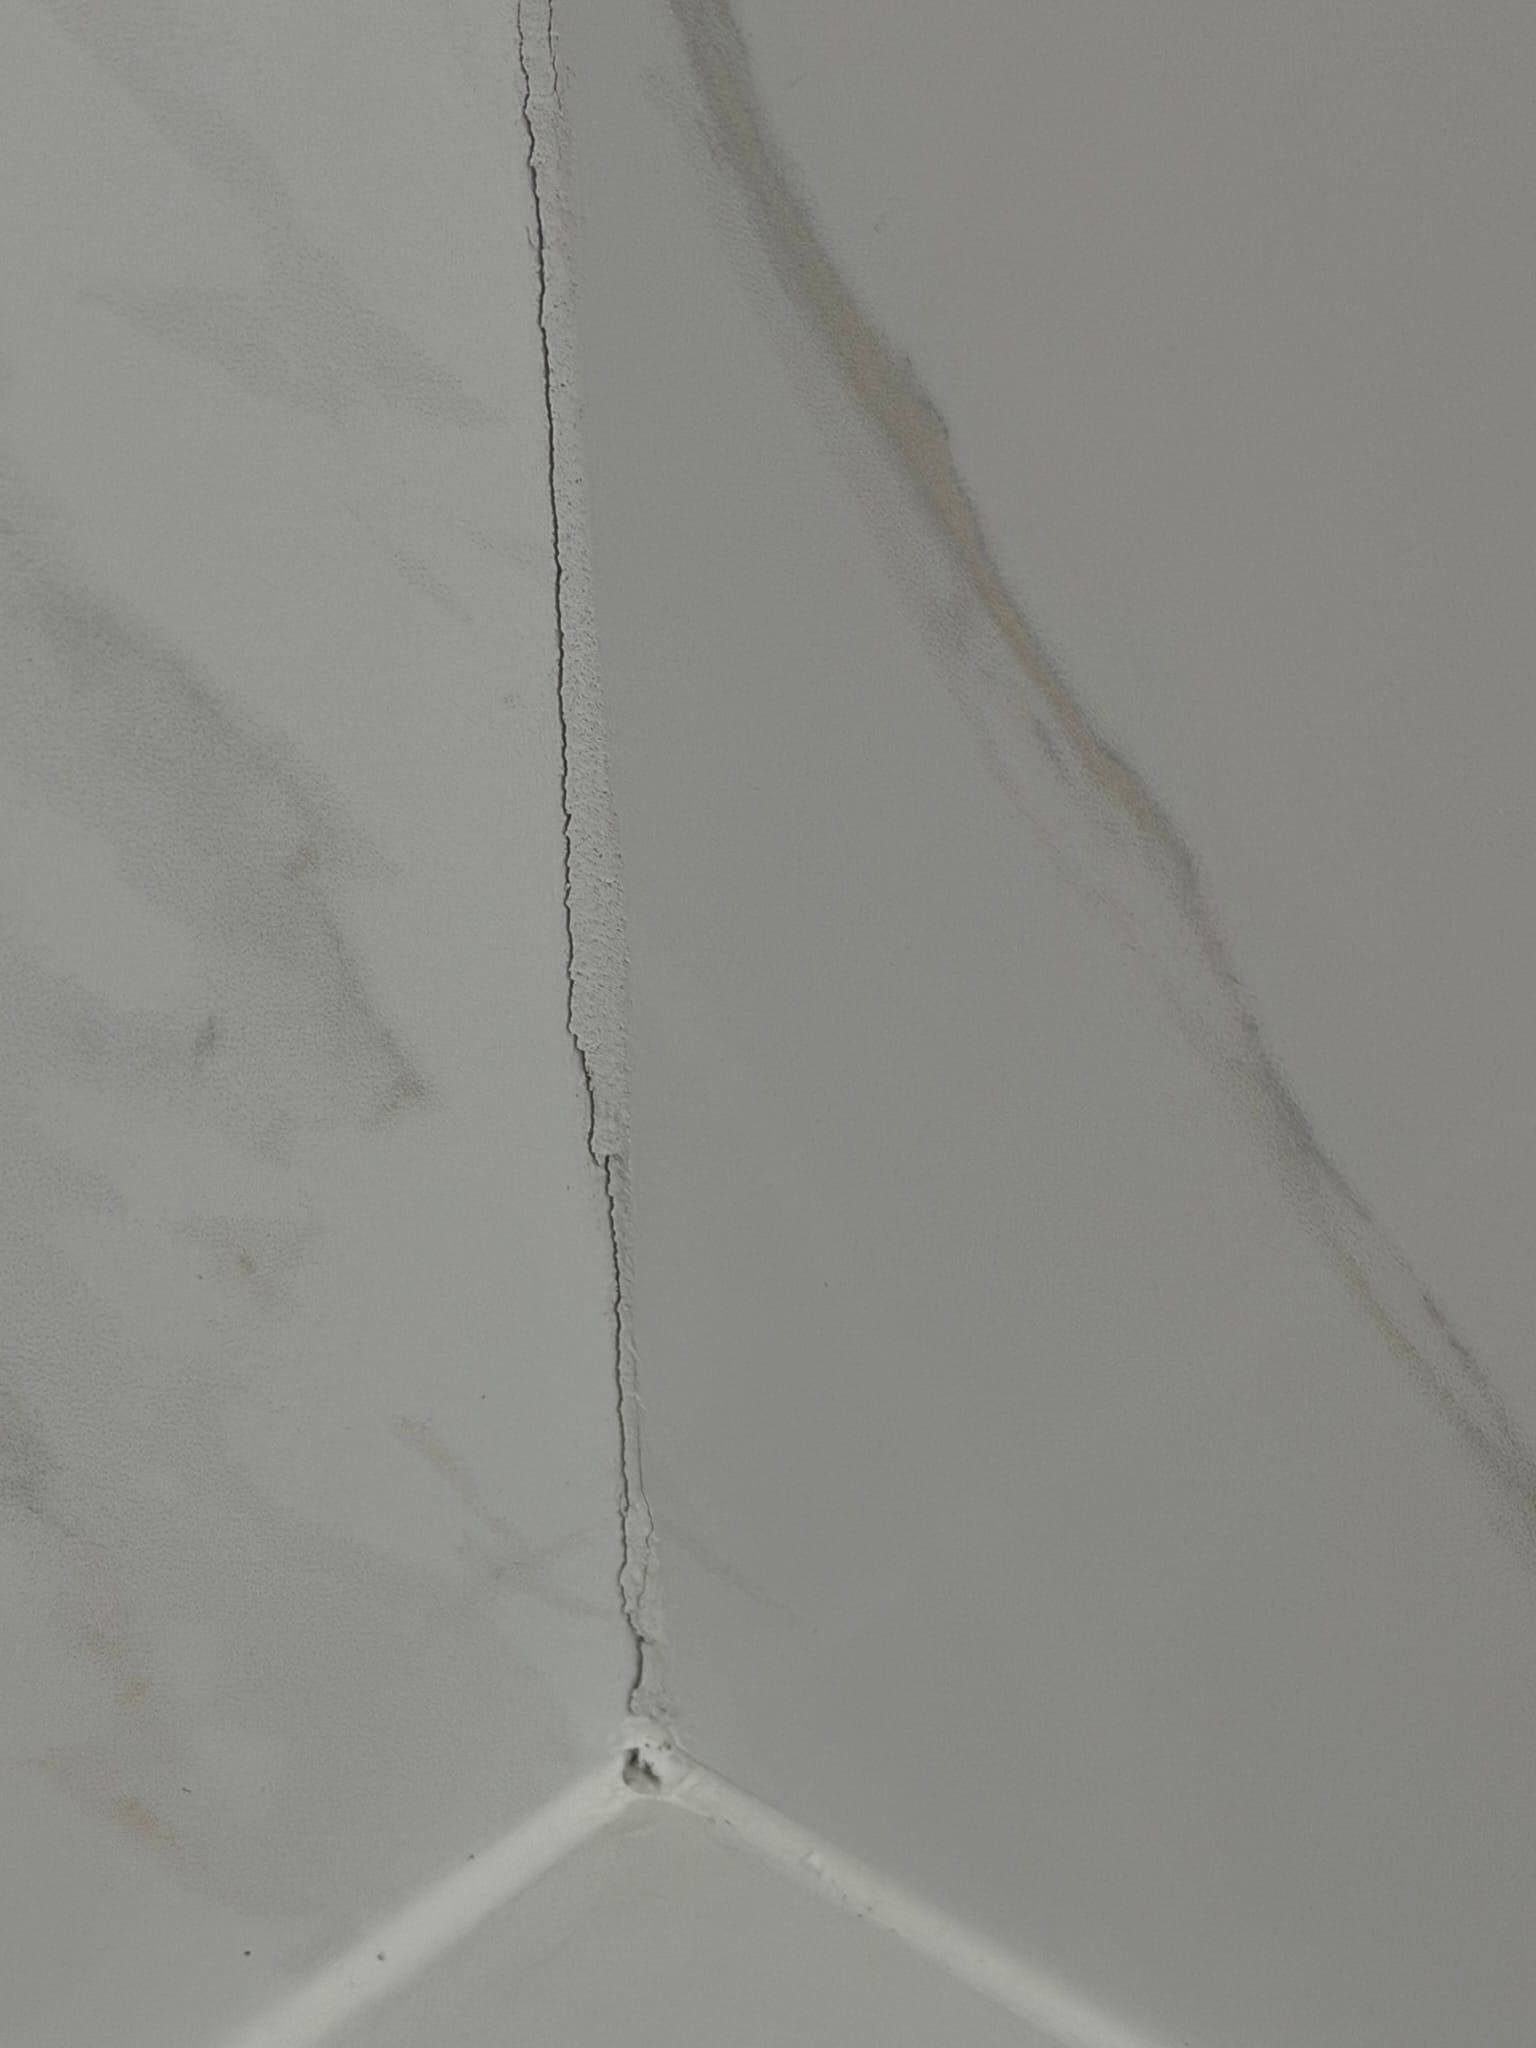
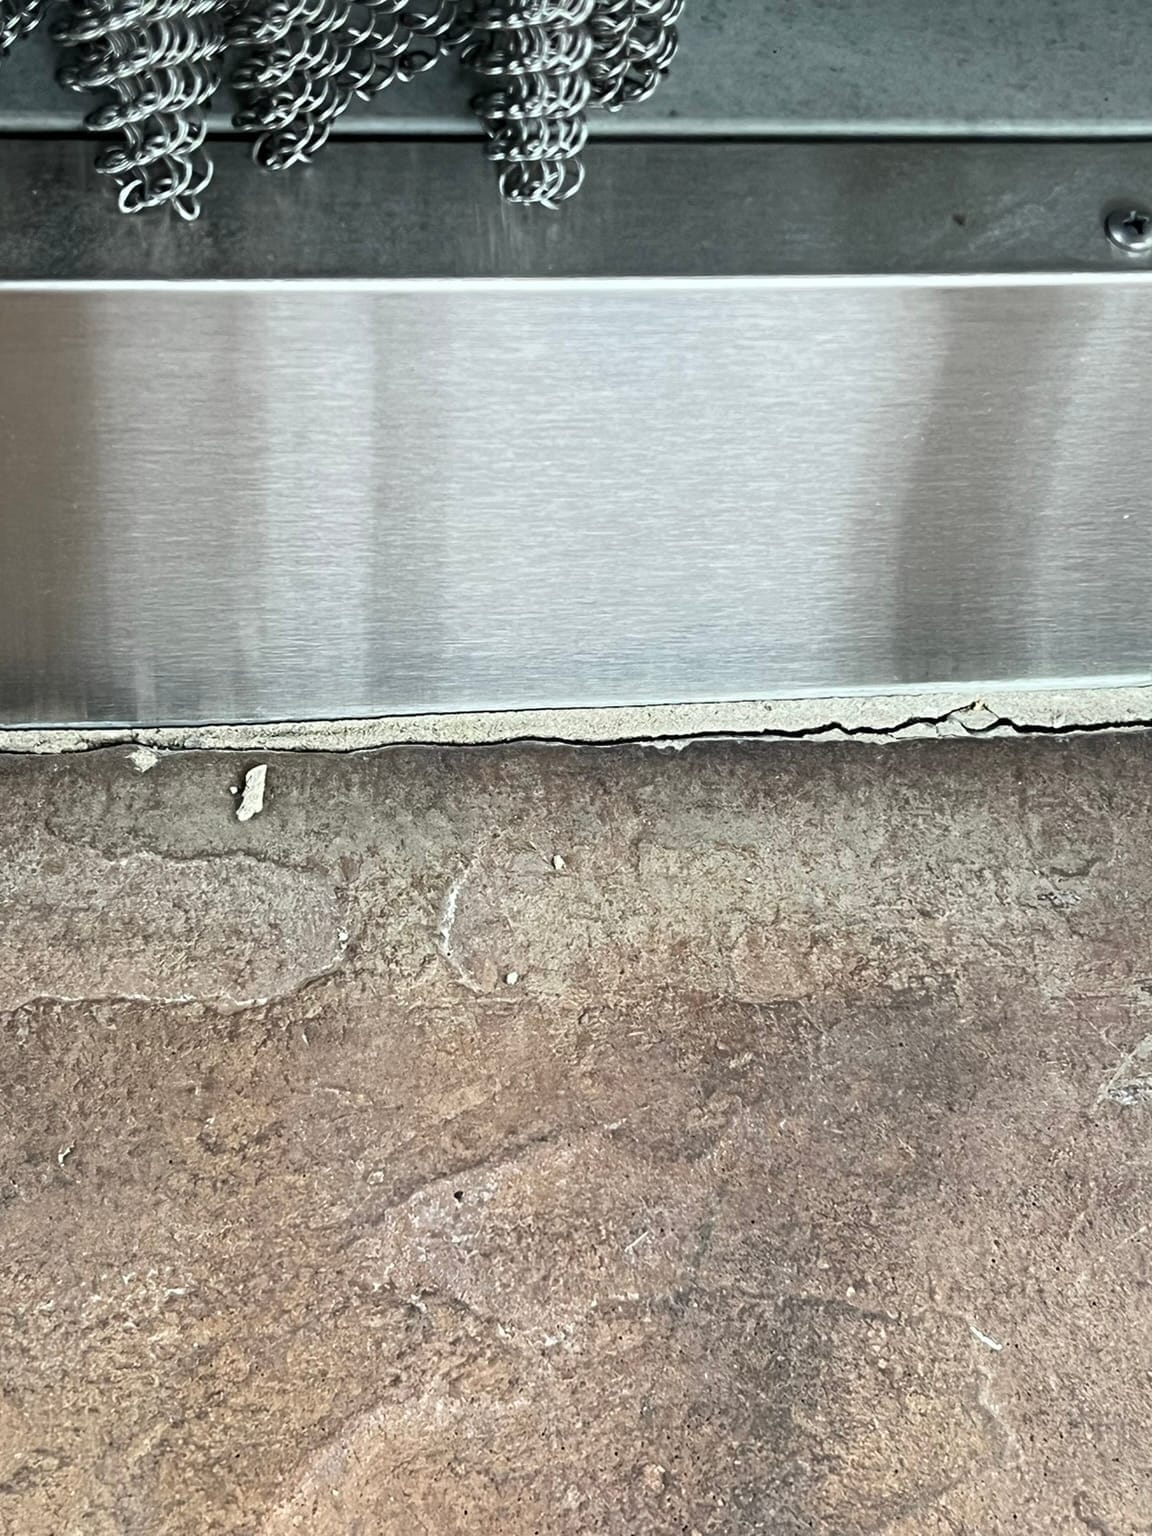
Grout and Drywall Cracking
This was the number one issue our neighbors told us to watch for, and they were right. We found cracks in our fireplace grout and shower grout from its road trip.
We got lucky with no drywall cracks, but the grout definitely showed the journey. The road trip caused things to shift and settle, and grout is typically the first place you'll see evidence of that movement.
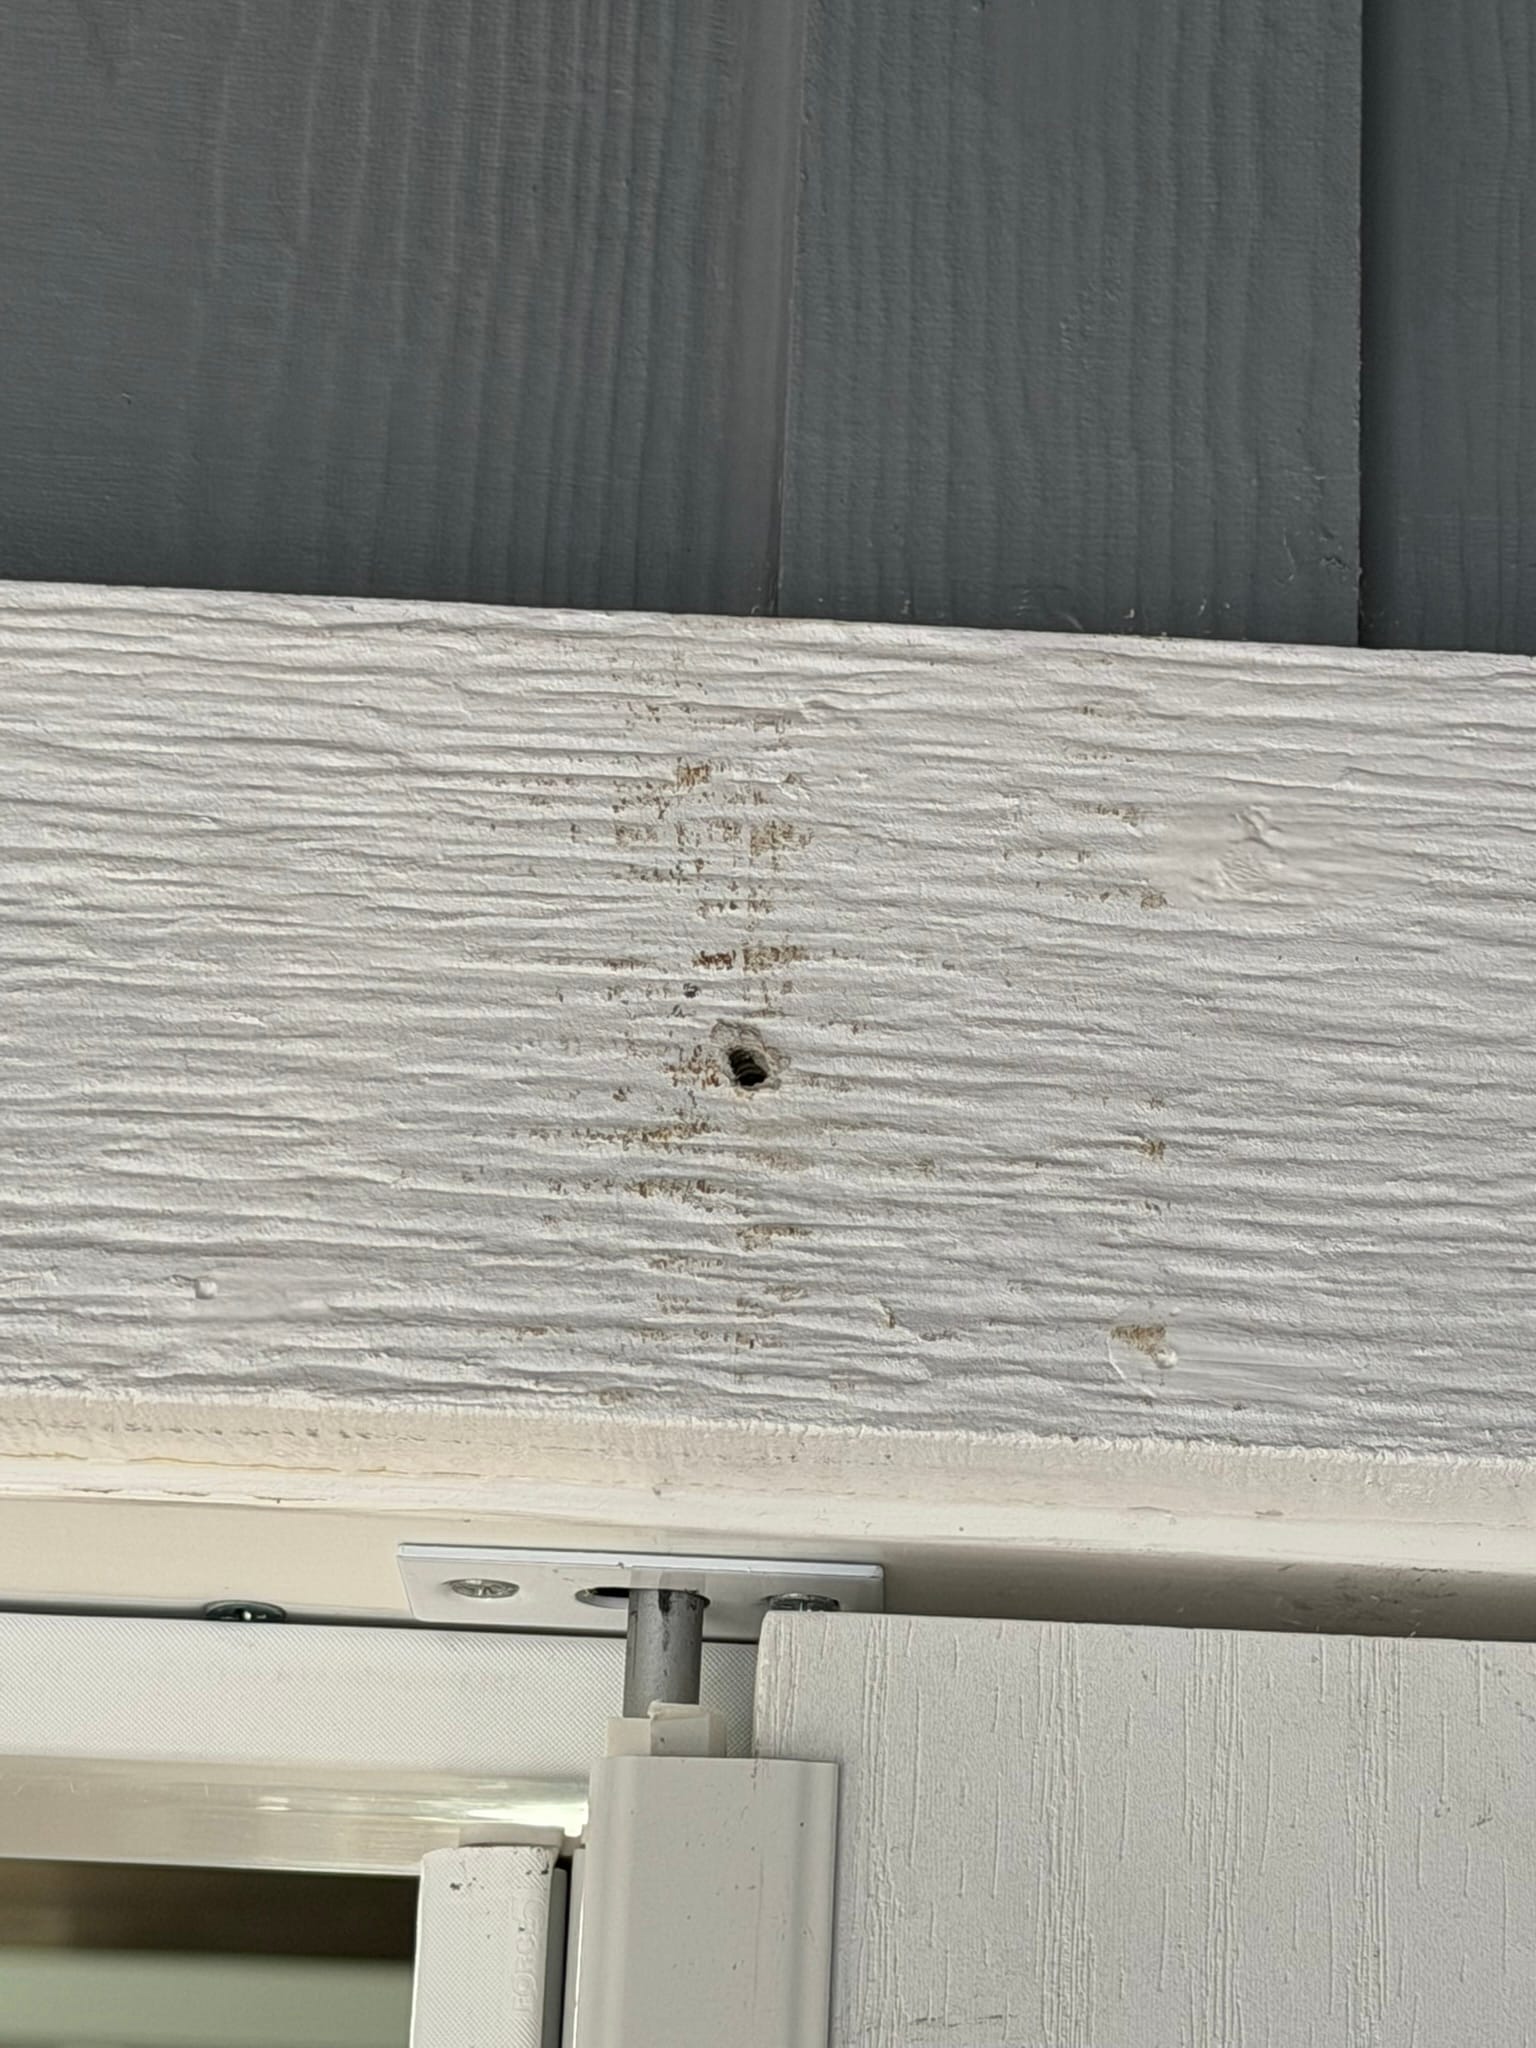
Trim Holes from Transport Fixtures
The manufacturer has to mount taillights and secure doors during transport to make the tiny house road-legal. When they remove those temporary fixtures after delivery, you're left with holes in your trim that need to be filled and finished.
Not a huge issue, but definitely something that needs addressing - and something we wouldn't have thought about before we noticed it on our house.
The Bottom Board Mystery
We were instructed to check something called 'the bottom board' (the underbelly enclosure that protects the home's underside) - and honestly, we had no idea where that was or what to look for - so we just asked.
Want to know how the manufacturer responded to our punch list? We're documenting the entire repair process in our newsletter, along with behind-the-scenes details that don't make it into blog posts or videos. Subscribe here for insider updates.
Build Quality Issues Beyond Transportation
Transportation damage wasn't the only category on our punch list. We also found standard build quality issues:
Rough Porch Wood
Several porch boards were rough and unfinished. We expected smooth, finished surfaces on a completed product, but these boards will need sanding or replacement.
Leaking Shower Head
Basic plumbing issue, but exactly why you inspect thoroughly. Better to document a leaking shower head during your warranty period than discover it after your 30 days expire.
Fireplace Issues
The fireplace had multiple problems: missing grout between stones, cracks in existing grout, paint drips on the hearth that weren't cleaned up during finishing, and some loose stones that needed securing.
Closet Door Won't Stay Closed
Bryan's barn-style closet door slides open on its own instead of staying closed. It blocks the dresser drawers when it's open, making the space less functional.
Stiff Drawer Mechanisms
A couple of kitchen drawers don't slide smoothly. They stick halfway when closing, requiring several pushes before the soft-close mechanism finally engages.
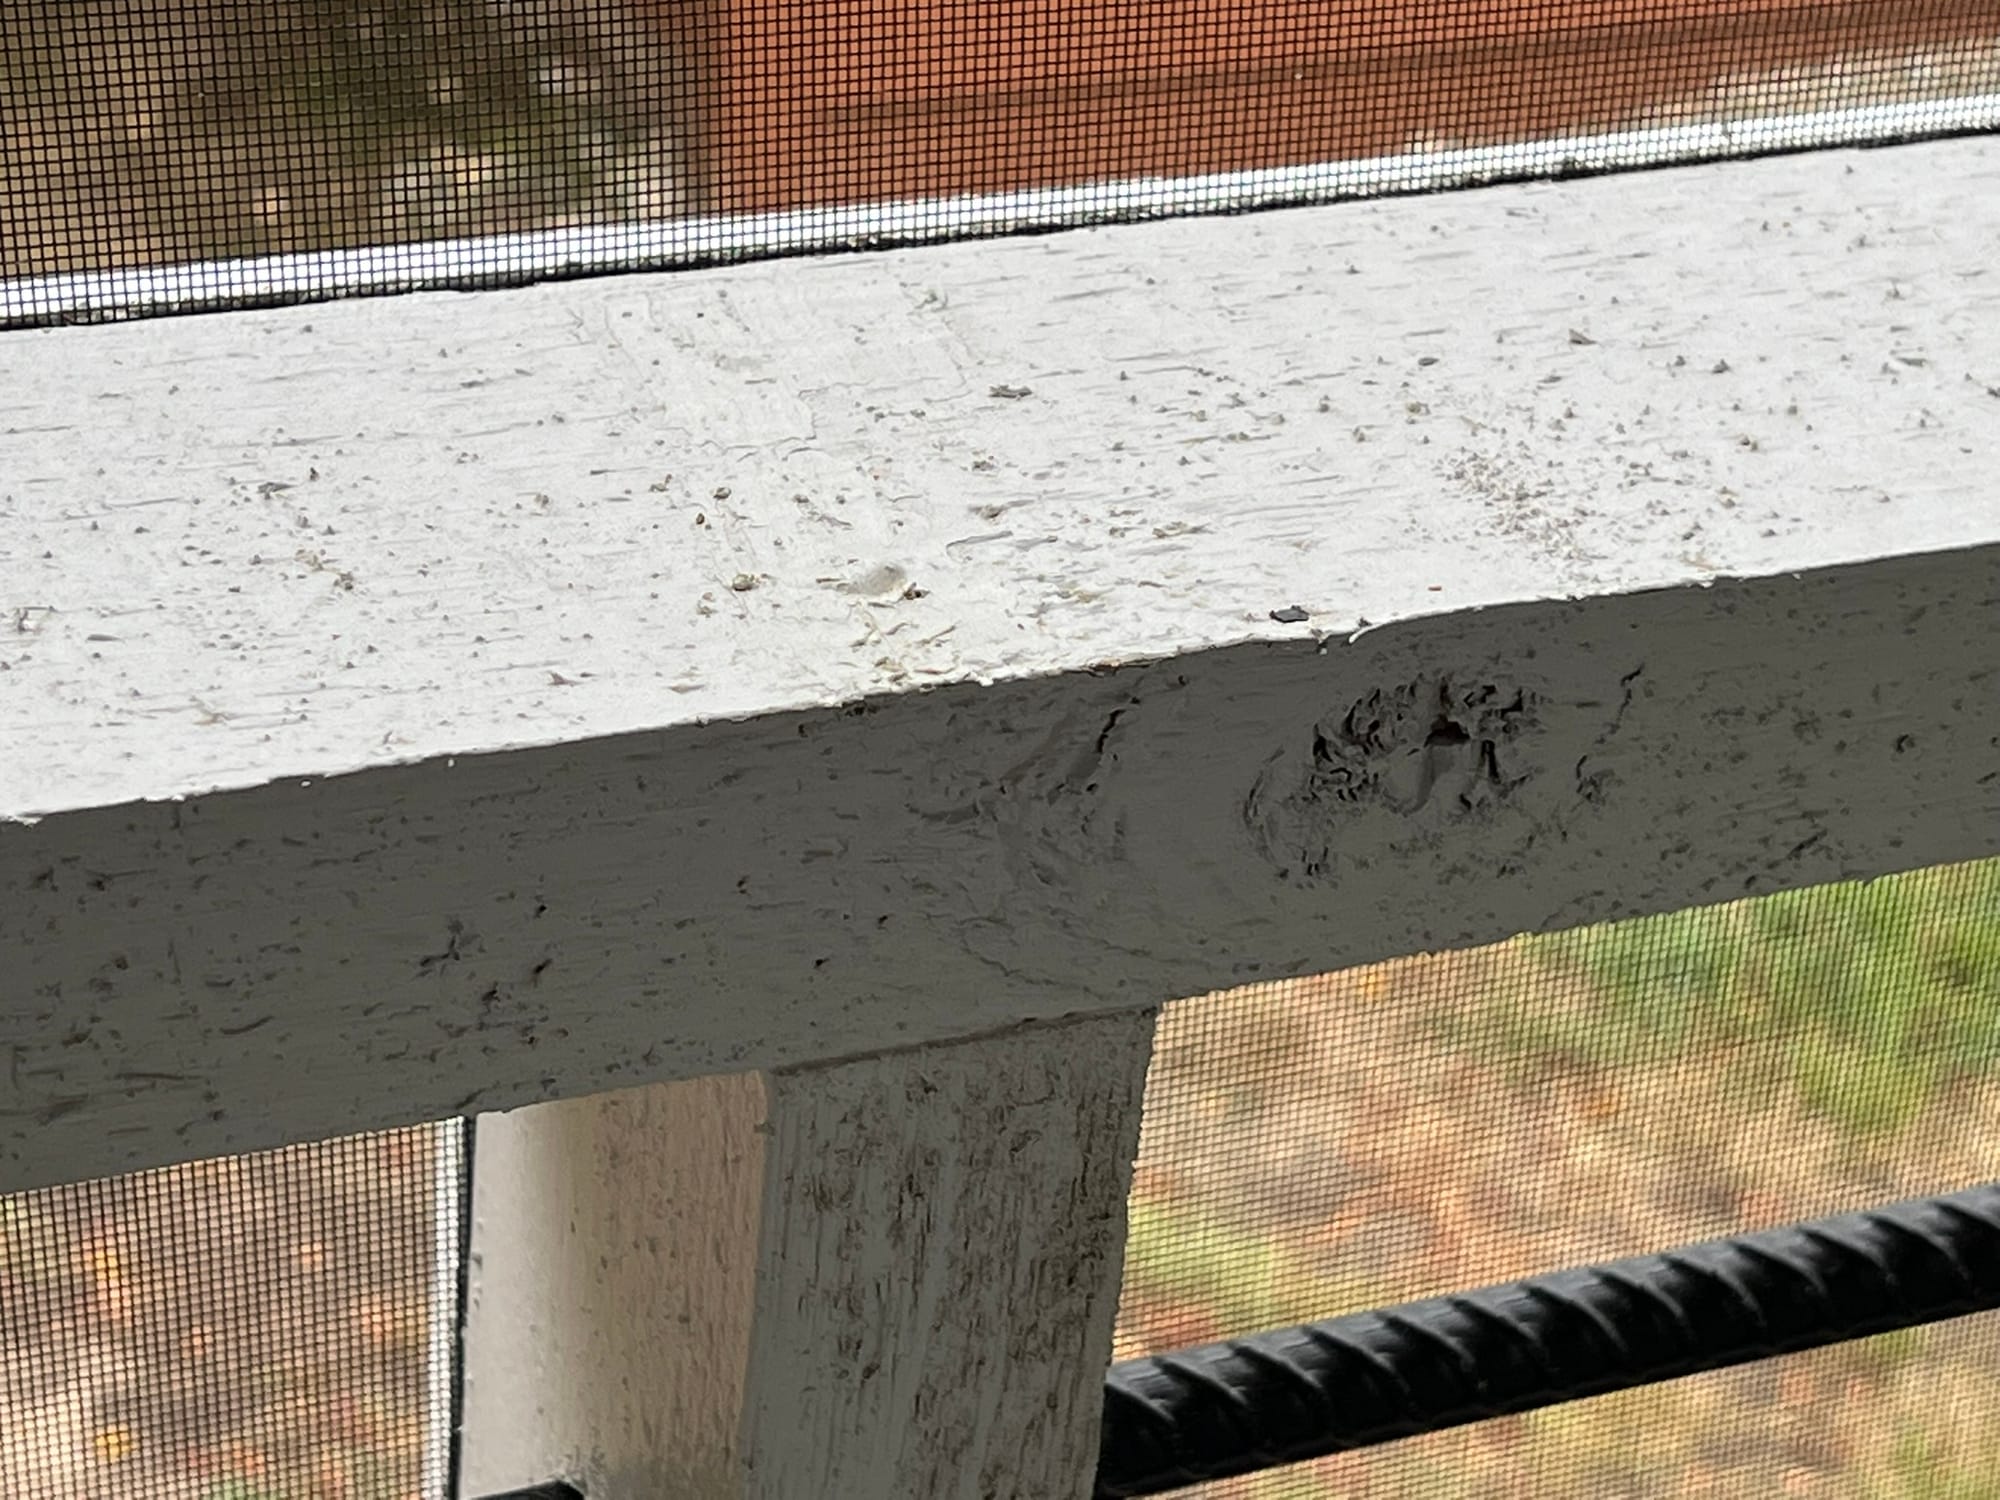
We also documented: countertop edges that aren't smooth, pocket doors that aren't level, weather stripping gaps, and uneven ceiling staining.
Everything went on our list with photos and detailed descriptions. Even minor issues got documented - it's better to over-report than miss something that becomes a bigger problem later.
Our Documentation System
Here's how we organized our inspection to make submission easy:
Room-by-room approach: We systematically went through the house checking walls, floors, windows (opening every blind), electrical outlets, fixtures, and appliances in each space.
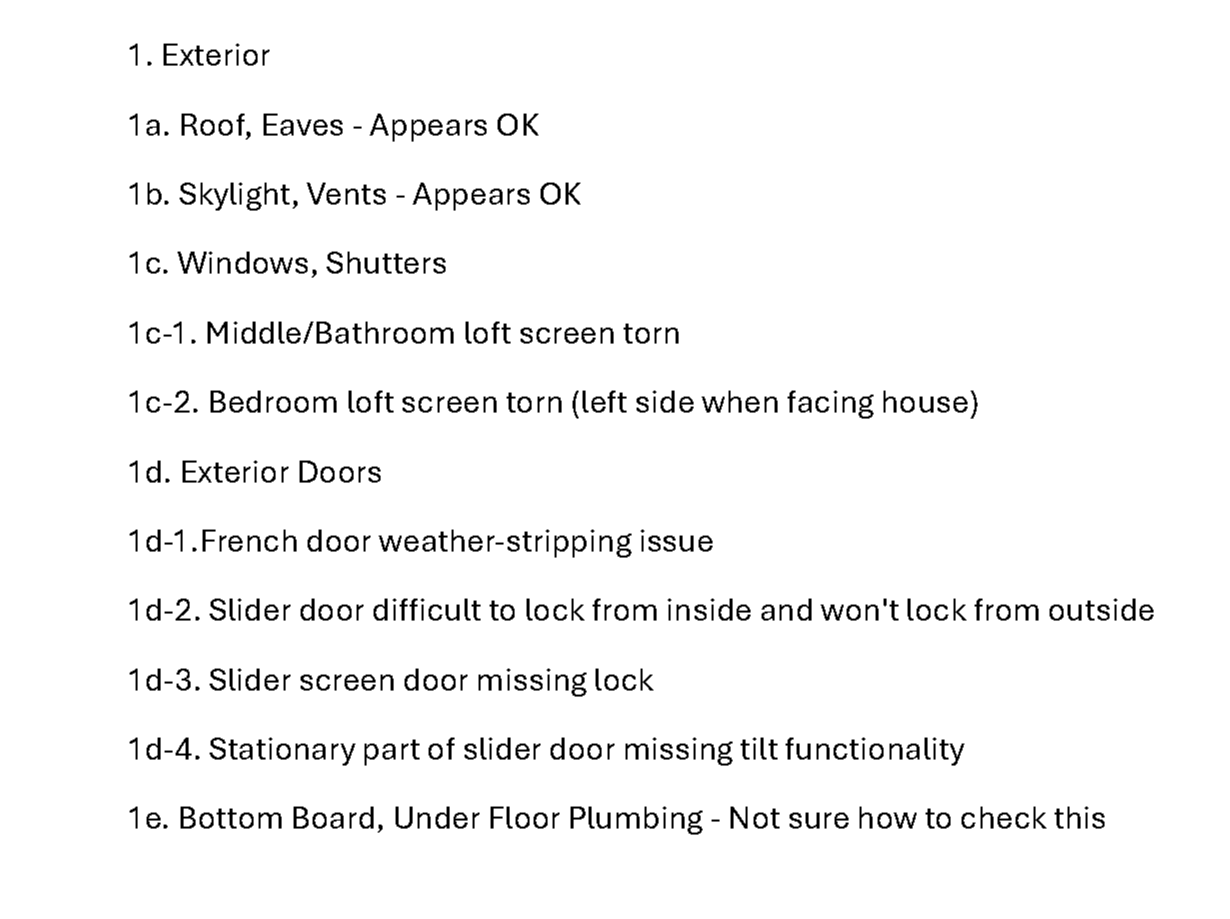
Category organization: We organized issues by location - exterior, interior general, living/dining, kitchen, bedroom, bathroom, loft, porches. This made it easy to reference and ensured we didn't miss any areas.
Photo documentation: Every issue got photographed or videoed. Clear visual documentation leaves no question about what you're reporting.
Cross-referenced list: We maintained a numbered list (1a, 1b, 1c-1, etc.) that corresponded to specific photos in organized folders. When we submitted our punch list, the manufacturer could easily match descriptions to visual evidence.
Critical Lessons We Learned
Start Immediately - Before You Unpack
Our biggest mistake was waiting almost two weeks to begin our detailed inspection. We were focused on unpacking and getting functional, which meant we were inspecting around boxes and belongings.
Start your inspection the day you take delivery, before you move your stuff in. You'll see problems more clearly when spaces are empty, and you won't feel rushed as the deadline approaches.
Talk to Your Neighbors
If you're in a tiny house community, your neighbors have been through this process. They warned us about grout and drywall cracks, screen damage, and trim issues - common problems we knew to look for because others had experienced them.
Their advice gave us a starting checklist of priorities and helped us understand what was normal versus concerning.
Don't Rush the Submission
The manufacturer also advised us not to rush sending our punch list. They suggested living in the house for a couple of weeks to find issues that only become apparent with use - like stiff drawers or doors that don't stay closed. (But I guess they think you aren't trying to move in right away!)
We submitted on day 24, which gave us time to discover functional problems while still meeting our deadline comfortably.
Document Everything
Even issues that seem minor should go on your list. That small grout crack could become a bigger problem. That slightly rough board could splinter. Document it all while it's covered under warranty.
The Quality Perspective
Here's important context: overall, they built a quality house. Most of these issues are relatively minor - mainly from either the 82-mile journey getting here or placing it on our lot. But that's exactly why the 30-day inspection window exists - to catch and fix these things while it's still covered.
We're not disappointed at all in our tiny house - in fact we love it and couldn't be happier with it. We're glad we had the opportunity to thoroughly inspect it and have issues addressed before they became our financial responsibility.
What You Need to Check
If you're buying a tiny house or park model, here's your inspection priority list:
Transportation damage first:
- Window and door screens for tears or damage
- All grout (shower, fireplace, countertops) for cracks
- Drywall for cracks or separation
- Trim for holes from transport fixtures
- Any exterior damage from tree contact or road debris
Then standard build quality:
- Plumbing fixtures for leaks
- Doors and drawers for proper operation
- Countertops and finished surfaces for smoothness
- Appliances for proper function
- Electrical outlets and fixtures
- Weather stripping and seals
- Paint and stain application quality
- Exterior doors and windows for proper operation
The Waiting Game Continues
Submitting our punch list was a relief, but it's not the end of the process. Now we wait to hear back from the manufacturer. We were told it could take up to 8 weeks, unless they are in the area sooner.
We're still waiting on other projects too - our carport and storage shed construction, entry walkway and drainage solutions. The journey from "moved in" to "completely finished" is longer than we expected, but we're excelling in being patient.
What's Next
We'll be documenting the manufacturer's response and the repair process as it happens. If you want those updates in real-time, along with the behind-the-scenes frustrations and victories that don't make it into public content, subscribe to our newsletter below.
For those of you considering tiny house living: the inspection process is manageable if you start early and stay organized. The issues we found are fixable. The 30-day deadline is doable if you prioritize it.
The key is understanding that your tiny house has traveled to you, which creates inspection priorities you wouldn't have with traditional construction. Check for transportation damage first, document everything thoroughly, and don't wait until day 28 to start looking.
Ready to see what tiny house life actually looks like after the inspection? Subscribe to our newsletter for weekly updates on the reality of living in 399 square feet - the good, the challenging, and the lessons we're learning along the way.
Thanks for figuring this out with us.
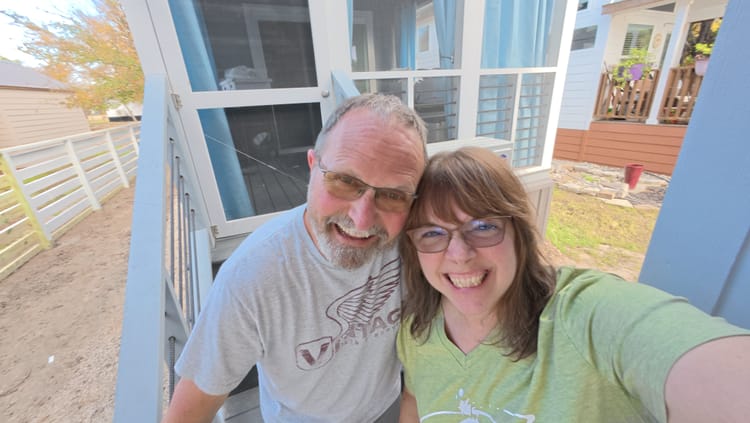
-Kathy & Bryan
Related Posts:

Member discussion